


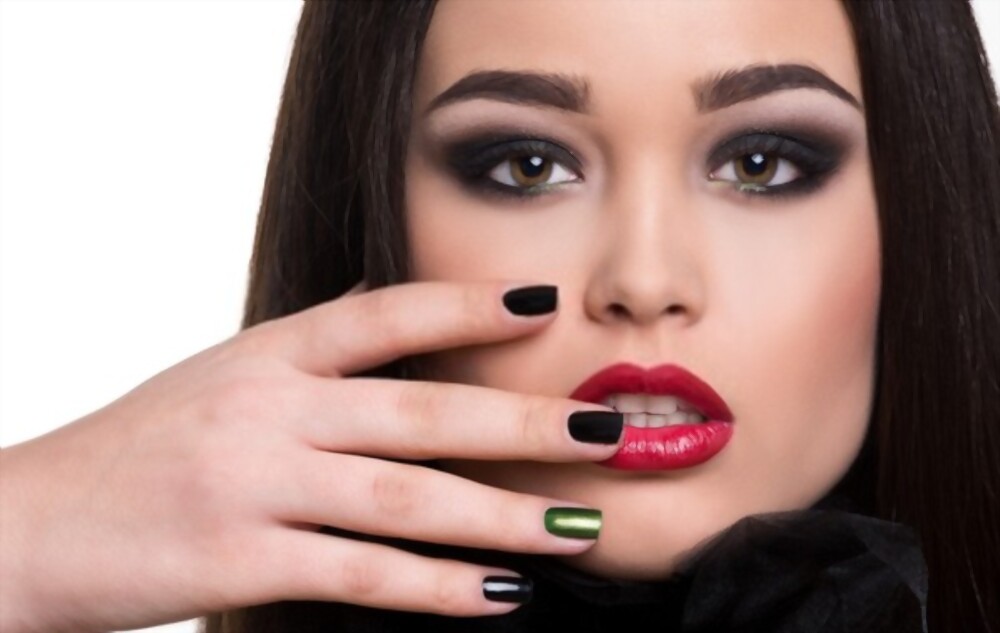
5 Tips For Drawing The Perfect Cat’s Eye
1,586 Views
5 Tips For Drawing The Perfect Cat’s Eye
In particular, their cat-eye appearance. The extended cat flick, of course, is what takes it from everyday, run-of-the-mill eyeliner to sexy seductive. RAWR!
1. Before you start, know what the F / W ’11 version of the cat-eye liner looks like.
It’s from the Ds show, and it’s very ’60s with thick lines that appear to be drawn horizontally (but as you can see in the pic above this post, there’s an upward tick when the eyes are wide open) :
In Stella McCartney, the line is thinner and seems to follow the natural curve of the eye, candle-shaped with pointy ends:
The Lanvin version is very squared-off and meant to look like the girls had drawing ideas it themselves. So, you know, this could be a backup plan.
And how can we forget the utterly gorgeous (and perhaps technically next to impossible to recreate) double line using Giorgio Armani?
In general, I think the message is to make your lines more straight across rather than trying to do a diagonal flick intentionally. Think OUTWARD, Not upwards. And, as you can see, the lines are highly deliberate and graphic (i.e., non-smudgy). It means the pressure is on to do your lining job chirp-fact! (Sorry. I Can’t resist. I’ll stop at the cat jokes now.)
2. Select the correct tool for the job.
The best prods for the said graphic look are gel and liquid liners because they dry quickly and do not smudge. Gels come in small pots like this:
And you use an angled brush to apply them, which is helpful for the precision finish we’re aiming for here.
I find liquid liners trickier, and it also depends on which one you are using because the tips vary so much between brands. Lise Watier is pretty good:
Or you can try a liquid liner pen, which is basically like a felt-tip pen. (They are also super-easy to use because you can touch the edge of the tip to make a line and repeat along the lash line). Stila recently sent me their new gray one (it’s also waterproof!) And I’m in love:
You can use a pencil, but they often smear more, and you need to sharpen them first unless you are going for a dirty look. Oh, and please buy a waterproof one: suggestions here.
3. Here’s how to avoid one-sided flicks.
This tip came my way through Lise Watier’s international makeup artist, David Vincent. Have you ever executed a serious PERFECT flick — but then when you repeated it with the other eye, it came out utterly uneven, so your eyes didn’t match?
Well, here’s the fix. To avoid looking deranged, you want to do everything to the contrary. Start the job by line drawing two dots at the point where you want your flicks to END. That way, you know exactly where you have to finish the line when you remove them.
4. Start drawing on the outer, not the inner corners.
Why? Because unless you’re taking a Lanvin, spotting the most wearable cat is like per the Stella McCartney show, where the lines taper off to a thin point on the outer edges. And you have a lot more control at the beginning of the line than at the end.
5. How to avoid shakes.
Draw with conviction! That’s the advice I took from the great Val Garland (makeup artist extraordinaire). He said to be fearless and draw that line. In a swift raid! Come on, and you can, Dewit.
However, if you still get shaky and nervous — resulting in unstable and uneven lines — feel free to rest your pinky finger on your cheek to help stabilize your hand. And if you really can’t do it in one stroke, then your best bet is to do a bunch of short, quick ones and then connect them. more info to visit: http://thearticlepost.com/